
There’s something primal and deeply satisfying about cooking over charcoal. Maybe you caught a whiff of smoke drifting over the fence at a neighbor’s Fourth of July cookout, or bit into a burger with that unmistakable char-kissed flavor that no gas grill can quite replicate. Whatever brought you here, you’ve decided a charcoal grill is the way to go, and you’re right.
But before you light your first briquette, there are a few things worth knowing.
Choosing the Right Charcoal Grill for Your Needs
Not all charcoal grills are created equal, and the best one for you depends entirely on how and where you plan to use it.
If you’re someone who loves camping, tailgating, or heading to the park for a cookout, portability should be your top priority. Compact tabletop and portable kettle grills are lightweight, easy to pack, and surprisingly capable. Some models are small enough to fit in the trunk of a car and cost as little as $15 to $30. The trade-off is cooking surface. You won’t be feeding a crowd of twelve off a grill the size of a dinner plate.
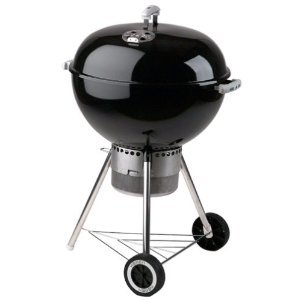
If backyard entertaining is more your style, a full-sized kettle grill or barrel grill gives you the real estate to cook for a group. These range from budget-friendly options around $50 to premium models well over $300, with everything in between. Many experienced grillers actually own both. A large grill for home use and a small portable one for adventures.
Think about your typical situation: How many people are you usually cooking for? Will you need to transport the grill? Do you want to experiment with smoking and indirect heat, or are you sticking to burgers and dogs? Answering those questions will point you toward the right size and style.
Prioritizing Safety From Day One
A charcoal grill is an open fire in a metal bowl, it deserves your respect. Before you buy, look beyond the price tag and check a few safety fundamentals.
First, examine the build quality. A grill with wobbly or flimsy legs is a genuine hazard. If a loaded grill tips over, you’re looking at a spill of glowing-hot coals on your patio, lawn, or deck — none of which is ideal. Give any grill you’re considering a firm shake before purchasing. It should feel solid.
Second, look for safety features. Many quality grills include damper vents and smothering valves that allow you to cut off the oxygen supply to the fire and bring temperatures under control quickly. This is your first line of defense if the grill gets hotter than intended. Some models also include ash catchers, which contain spent coals and reduce the risk of hot ash falling onto the ground.
Third, always grill in an appropriate location. Keep the grill away from fences, overhanging branches, and anything flammable. Never use a charcoal grill indoors, in a garage, or under a covered patio without full open-air ventilation. Charcoal produces carbon monoxide, which is colorless, odorless, and deadly in enclosed spaces.
Having a bucket of water or a fire extinguisher nearby is never a bad idea, especially while you’re still learning.
Understanding Charcoal and Lighter Fluid
The fuel is what makes a charcoal grill unique, and it’s simple once you understand it.
You’ll need two things to get started: charcoal briquettes and lighter fluid (or a chimney starter, which is an excellent alternative). Briquettes are the compressed, uniform charcoal blocks you’ll find at virtually any supermarket, hardware store, or gas station. Lump charcoal is another option. It’s made from natural hardwood, burns hotter, and produces less ash, though it can be a little harder to light consistently.
To light a standard briquette fire, stack your charcoal into a pyramid shape. This concentrates the heat and helps the coals catch evenly. Apply lighter fluid according to the bottle’s directions, let it soak in for about 30 seconds, then light it with a long match or grill lighter. Never add lighter fluid to an already-lit fire.
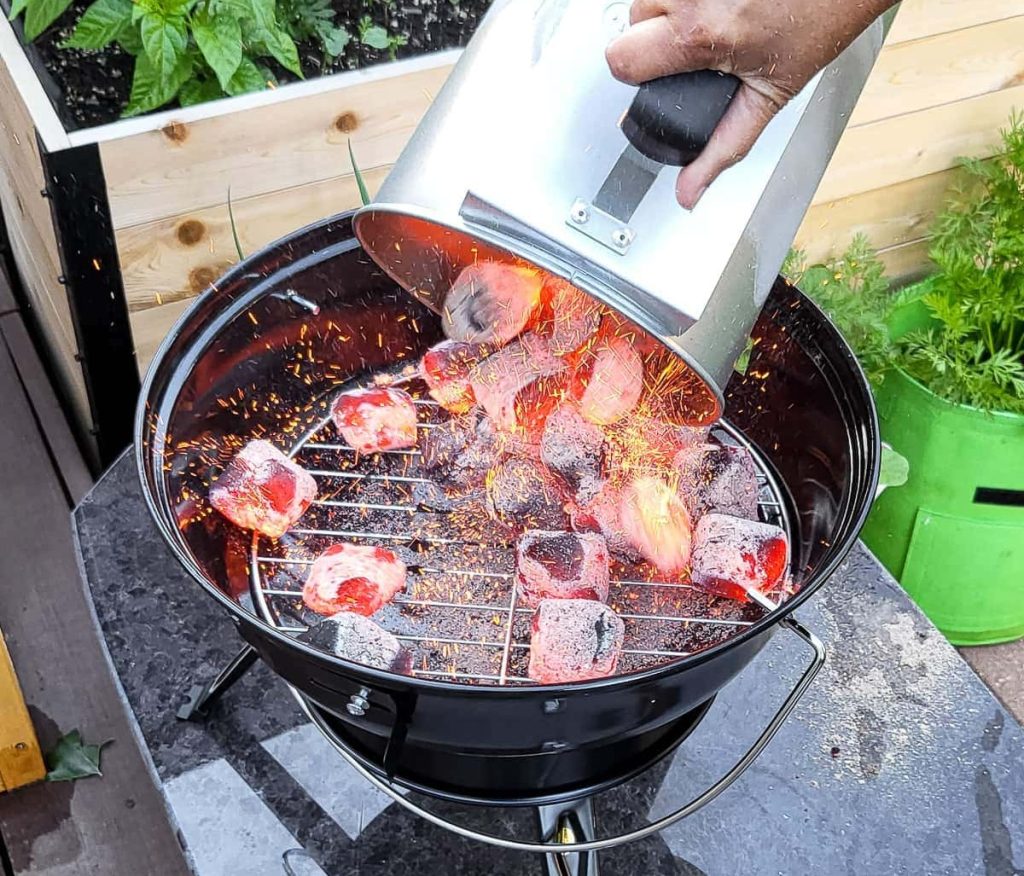
The key thing most beginners get wrong is impatience. You’re not ready to cook when the coals are on fire. You’re ready when the flames have died down and the coals are covered in a layer of white-grey ash, glowing red underneath. This typically takes 20 to 25 minutes. At that point, spread the coals into your cooking configuration — either directly under the food for high-heat grilling, or off to one side for indirect, slower cooking.
Charcoal is single-use. Once you’re done cooking and the coals have cooled completely, the ash needs to be disposed of safely. Let everything cool for at least 48 hours before transferring ash to a metal bin, never plastic.
Cleaning and Maintaining Your Grill
Nobody’s favorite part, but it matters. A well-maintained grill lasts for years; a neglected one rusts, builds up dangerous grease deposits, and starts affecting the flavor of your food.
After each cook, you have two options for cooling the grill down. You can leave the vents open and let the remaining coals burn out naturally. This tends to incinerate a lot of the grease and debris on the grates, which makes cleaning a bit easier. Or you can close all the vents completely, cutting off the oxygen supply and smothering the fire. This conserves any unused charcoal but means the grill stays dirty longer. If you take this route, make sure the grill is in a safe, supervised spot until it cools completely.
Once the grill is fully cool, and only then it’s time to clean. Don’t put it off. Grease and carbon buildup hardens quickly and becomes significantly harder to remove the longer it sits.
Start with a stiff wire brush on the grates while they still have a little residual warmth (not heat warm, not scorching). This loosens the debris much more easily than scrubbing cold, hardened grease. Once you’ve brushed the grates, remove them and wash them thoroughly with dish soap and hot water. A de greaser-based soap like Dawn works particularly well here. Rinse well and dry before replacing.
Wipe down the inside of the bowl to remove ash and grease, then apply a thin coat of cooking oil to the grates before reassembling. This helps prevent rust and keeps the cooking surface seasoned and non-stick for your next session.
Check the ash catcher regularly and empty it after every cook , wet ash is corrosive and can damage the bottom of your grill over time.
A Few Final Tips for Beginners
Getting comfortable with charcoal takes a few sessions, but once it clicks, it becomes second nature. A few things to keep in mind as you get started:
A chimney starter is worth every penny. It’s a simple metal cylinder that lets you light charcoal without lighter fluid, using nothing but newspaper. The coals come out evenly lit every time, with no chemical taste.
Invest in a good pair of long-handled tongs and a grill thermometer. Guessing at temperatures is one of the most common reasons beginners end up with overcooked or undercooked meat.
Experiment with wood chips. Soaking wood chips (hickory, apple, cherry, mesquite) and adding them to your coals is how you start building real smoke flavor. This is the rabbit hole that leads to low-and-slow barbecue, briskets, and ribs. It all starts with your first charcoal grill.
Welcome to the craft.